:: Adjustment Layers ::
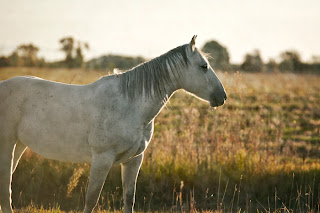
 "Silver Lined" | 30 Sep 2011 7:56am | north Rexburg
f/4.0 | 1/800s | ISO 100 | 200mm | Canon 5D mk1
 In this image I first added a texture image and blended. After reducing the opacity on that layer and masking out the horse by about 50%, I added a Color Balance adjustment layer. The horse was looking a bit too warm, mostly in the reds. After adjusting the color balance, I noticed that the scenery color prior to the that change was preferred so I masked our the color balance adjustment on the scenery. Lastly, I added a Levels adjustment layer, popping in some contrast and darkness. I masked out the majority of the Level adjustment to exaggerate the darker edges.
:: Smart Filters ::

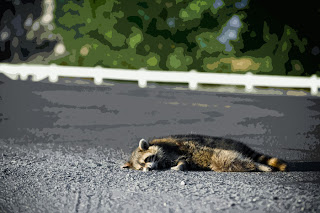
This image of a road-kill raccoon says quite the story. After making typical edits I added a layer of the image (so I wouldn't be altering the original layer). I wanted to make the image have a cartoonish look. I did so with the a Cutout filter effect, only after making that layer a smart object, so that any effect on it would be a smart filter. I then masked out the cartoon effect on the raccoon, illustrating to the viewer this is not fiction.

I really enjoy the creativity of the photography with the raccoon. I think that the filters you used on it add a fun and interesting look to the photo. Great job! thanks for the creativity
ReplyDelete